
When I first started shifting to a plant-based diet, I found giving up dairy products quite a challenge, both intellectually and practically.
From an early age, I'd been told to drink milk to make my bones strong and help me grow. In fact, I was the milk monitor at primary school.
I had trusted this advice and now I was reading scientific evidence suggesting that cow's milk is not really that healthy for humans, especially over the long term (1).
At a practical level, what could I consume instead?
Soy milk didn't agree with me. Besides, I was suspicious of a product which, despite food industry claims, has never been a staple in Asia, except in conditions of extreme food poverty; even then, the soybeans would be fermented first to improve digestibility (2).
Rice milk was subject to concerns about contamination with inorganic arsenic and the EFSA and the FDA recommended not giving it to very young children.
Then I discovered plant-based 'milks'.
In supermarkets and health food shops you can buy all manner of non-dairy milks in addition to soy and rice, for example, quinoa, hemp, oat, almond and hazelnut.
These products are convenient and reasonably priced but there is a limited range available and they often contain considerable amounts of sugar and other additives.

Then I discovered you could make your own plant-based 'milks' very easily by blending raw nuts, seeds, and grains with water.
Almonds, cashews, macadamias, Brazil nuts, hazelnuts, pecans, pistachios, coconuts, soybeans, hemp seeds, pumpkin seeds, sunflower seeds, sesame seeds, flaxseeds, quinoa, millet, rice, and oats can all be liquefied into delicious milks.
Home made milks are tasty, fresh, free of additives and preservatives, and you can completely control the integrity of the product: the quality of the ingredients, the level of sweetness, and the texture.
So this is how you do it, using hazelnut milk as an example.
Recipe for hazelnut milk

Ingredients
Makes about 3 cups (750ml, 1.5pints)
- 1 cup hazelnuts
- 4-5 chopped pitted dried dates
- 3 cups filtered water
- 1 pinch sea salt
- 1 small squeeze of lemon juice (optional but I find it balances the flavour)
Method
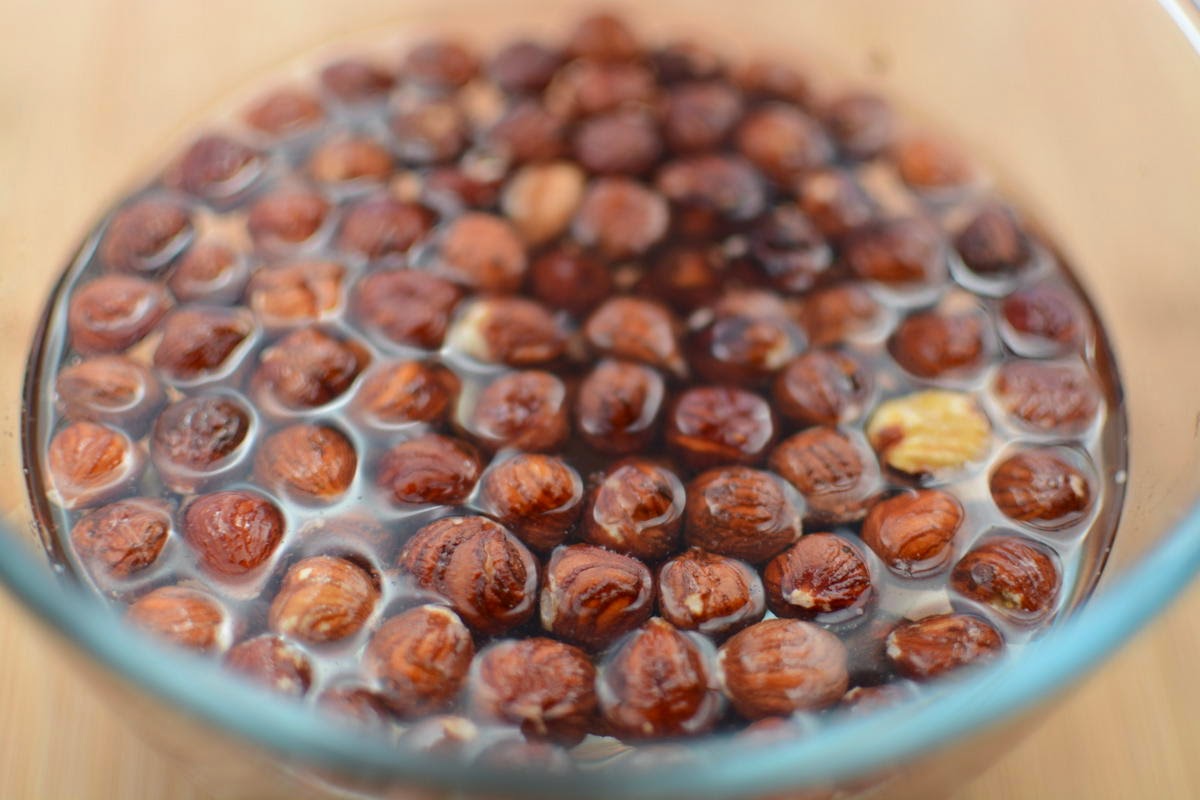
STEP ONE - SOAK
Soak nuts overnight in cold water. This makes them soft and easier to blend.
STEP TWO - BLEND
Drain soaked nuts and rinse in cold water, add the chopped dates, a pinch of salt, 3 cups of water and blend until smooth.
I just use a simple hand blender, which is perfectly adequate if the nuts have been soaked. You can use a fancy machine like a Vitamix if you wish but it isn't really necessary.


Pour contents of blender into a nut milk bag placed over a bowl or a jug.
A nut milk bag is just a piece of fine mesh nylon sewn together with a draw string. You can buy them online.
.JPG)

Squeeze the nut milk bag until as much liquid as possible has been extracted.


STEP FOUR - POUR
Taste the nut milk and add a dash of lemon juice if required. You'll learn what you like by experimenting.
Pour nut milk into Kilner (Mason) jars, or a jug with a lid, and store in the refrigerator for up to 3-4 days (if it lasts that long).
You will be left with fine nut grounds which you can put in a bag, freeze and use later in baking.

That's it. Simple, nutritious, no additives and with much more flavour than shop-bought nut milks.

You can apply the same method to other nuts, seeds and grains. Here's another example:
Quinoa milk
Ingredients
- 1 cup uncooked quinoa
- 2 cups water for cooking quinoa
- 3-4 cups water for blending cooked quinoa
- 1 pinch sea salt
- 1 tsp vanilla extract
Method
STEP ONE - SOAK
Take 1 cup quinoa and soak overnight in cold water.
STEP TWO - COOK
The next morning, drain and rinse the quinoa.
Place the soaked quinoa in a pan with 2 cups of water, bring to a boil, cover with a lid and simmer for 15 minutes until soft and fluffy.
STEP THREE - BLEND
Place cooked quinoa in a blender with 3-4 cups filtered water. Blend until smooth.
Strain and squeeze through a nut milk bag.
Add a pinch of sea salt and 1 tsp vanilla essence.
Pour into storage jars or a jug and keep chilled in the refrigerator.
Variations
You can add other flavourings, for example:
Cinnamon
Cacao
Rice malt syrup
Dates
Uses
I use plant-based milks as drinks in their own right; on breakfast cereals and porridge; in smoothies; in desserts; and in savoury dishes which require a white sauce, such as dairy-free toppings for lasagne.
If I'm making a savoury dish, I'll choose one of the less sweet grains or nuts, such as oats or almond, and omit any added sweetness.
Hope you enjoy experimenting and do let me know how you get on by posting in the comments below.


You can also visit my website and follow me on Facebook, Twitter, Pinterest and LinkedIn.
References
(1) Campbell, T.C. and Campbell, T.M. The China Study. Benbella Books, 2006.
(2) Shurtleff, W. & Aoyagi, A. History of soymilk and other non-dairy milks (1226 to 2013). Soyinfo Center, Lafayette, CA, 2013. ISBN 9781928914587